What Miniatures Are We Working With?
This guide focuses on preparing metal miniatures for painting, using Perry Miniatures French Young Guard Voltigeurs as an example. The same principles apply to most metal and plastic miniatures, whether you are working on a small batch or a large collection.
Proper preparation is essential for both beginners and experienced hobbyists. Taking the time to do it right will improve durability, save money on materials, and prevent frustration later in the painting process.
Why Priming Is Essential
Acrylic paint adheres poorly to unprimed surfaces—whether plastic or metal. Without primer, paint applies unevenly and can easily rub off during handling.
For long-lasting results:
- Always prime your miniatures.
- Ensure complete coverage.
- Avoid leaving exposed areas.
Skipping this step will significantly reduce the durability and overall quality of your paintwork.
Cleaning and Preparing the Miniature
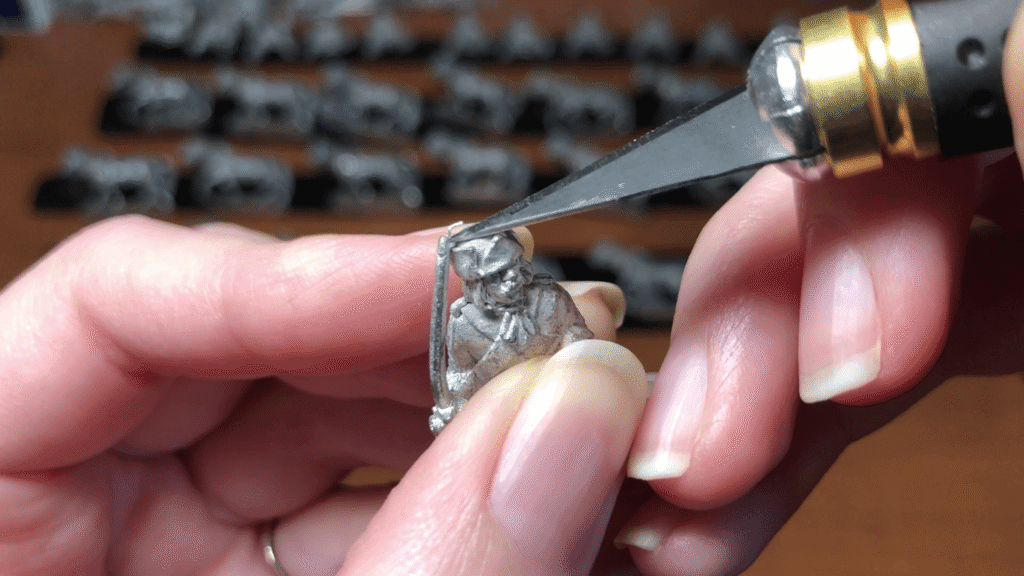
Before priming, carefully inspect each miniature for casting defects. Metal miniatures often have small mold lines or excess metal (flash) left from the casting process.
To prepare the model:
- Secure the miniature to a stable surface, such as a plastic bottle cap, which can also serve as a handle during painting.
- Use a hobby knife to carefully remove mold lines and excess metal.
- Smooth out any visible imperfections.
Proper cleaning ensures the primer and paint adhere evenly and prevents unwanted textures from appearing later.
Choosing a Primer
An effective and budget-friendly option is automotive spray primer designed for metal, commonly available at hardware or construction supply stores. While specialized miniature primers are available, they are often five to ten times more expensive.
Automotive primer:
- Provides excellent adhesion.
- Has proven durability over decades.
- Is highly cost-effective.
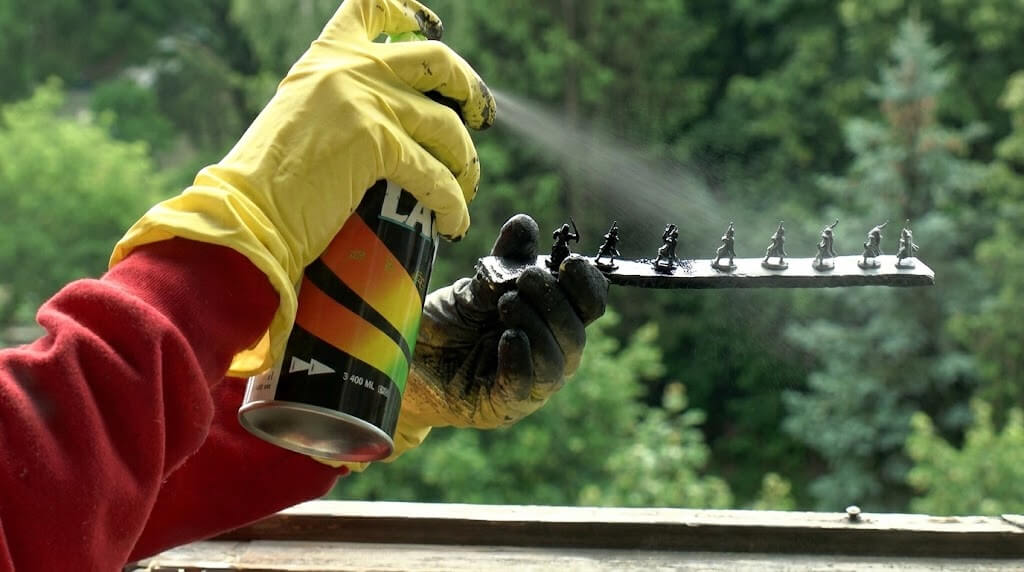
One standard spray can typically covers around 200 standard 28mm miniatures.
For better control and reduced paint waste, consider replacing the stock spray cap with a fine-control cap such as a Montana Level 1 cap. A narrower spray stream allows for more precise application and helps prevent over-spraying.
How to Prime Miniatures Properly
1. Shake Thoroughly
Shake the spray can for the duration specified on the label—usually one to two minutes. Proper mixing is crucial.
2. Warm the Can
Warm paint sprays more evenly. Store the can at room temperature or place it in warm (not hot) water for 5–10 minutes before use.
3. Check Weather Conditions
Avoid priming in rain, snow, or high humidity. Excess moisture can prevent proper adhesion and cause paint to bead up or run off raised metal details.
4. Maintain Proper Distance
Hold the can approximately 25–30 cm (10–12 inches) from the miniature. Spraying from too far away can cause the paint particles to partially dry mid-air, resulting in a rough, sandy texture.
If this happens:
- Remove the rough layer as soon as possible using a toothbrush or cloth.
- Re-prime at the correct distance.
Wind can also affect spray consistency. Using a cardboard box as a wind shield is a simple and effective solution.
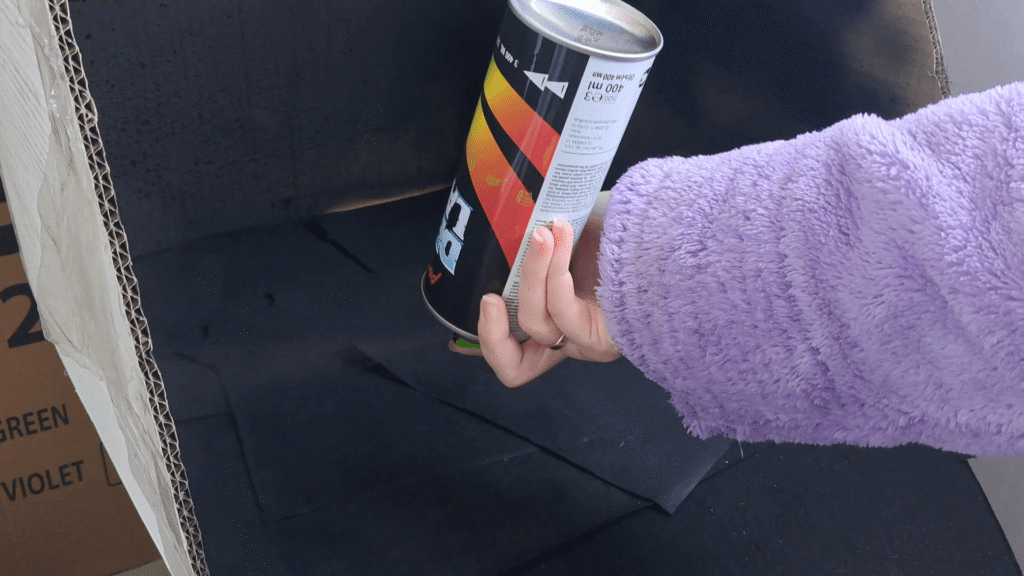
Cleaning the Spray Cap
After priming:
- Turn the can upside down.
- Spray until only clear propellant comes out.
- Wipe the nozzle clean.
This prevents clogging and allows the cap to be reused multiple times.
Drying Time
Allow miniatures to dry according to the manufacturer’s instructions on the spray can. While they may be touch-dry within about four hours, it is recommended to let them cure fully for at least 12 hours before painting.
Final Thoughts
Proper preparation and priming lay the foundation for successful miniature painting. By investing time in careful cleaning, choosing a reliable primer, and applying it correctly, you ensure a durable and professional-looking result.
With the right preparation, painting becomes more enjoyable—and your miniatures will stand the test of time.