Painting miniatures does not require advanced techniques to achieve solid, tabletop-ready results. In practice, most reliable paint jobs are built on a small set of methods that are easy to repeat and work across entire units.
The techniques below form the foundation of most miniature painting techniques used to achieve a clean, consistent standard. They are straightforward, efficient, and proven in practice.
Table of Contents
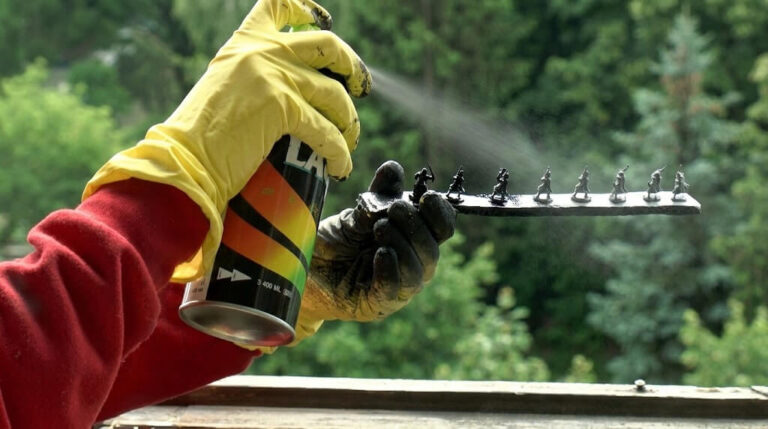
Before painting, proper preparation plays an important role in achieving consistent results. This is covered in more detail in our guide to preparing miniatures for painting.
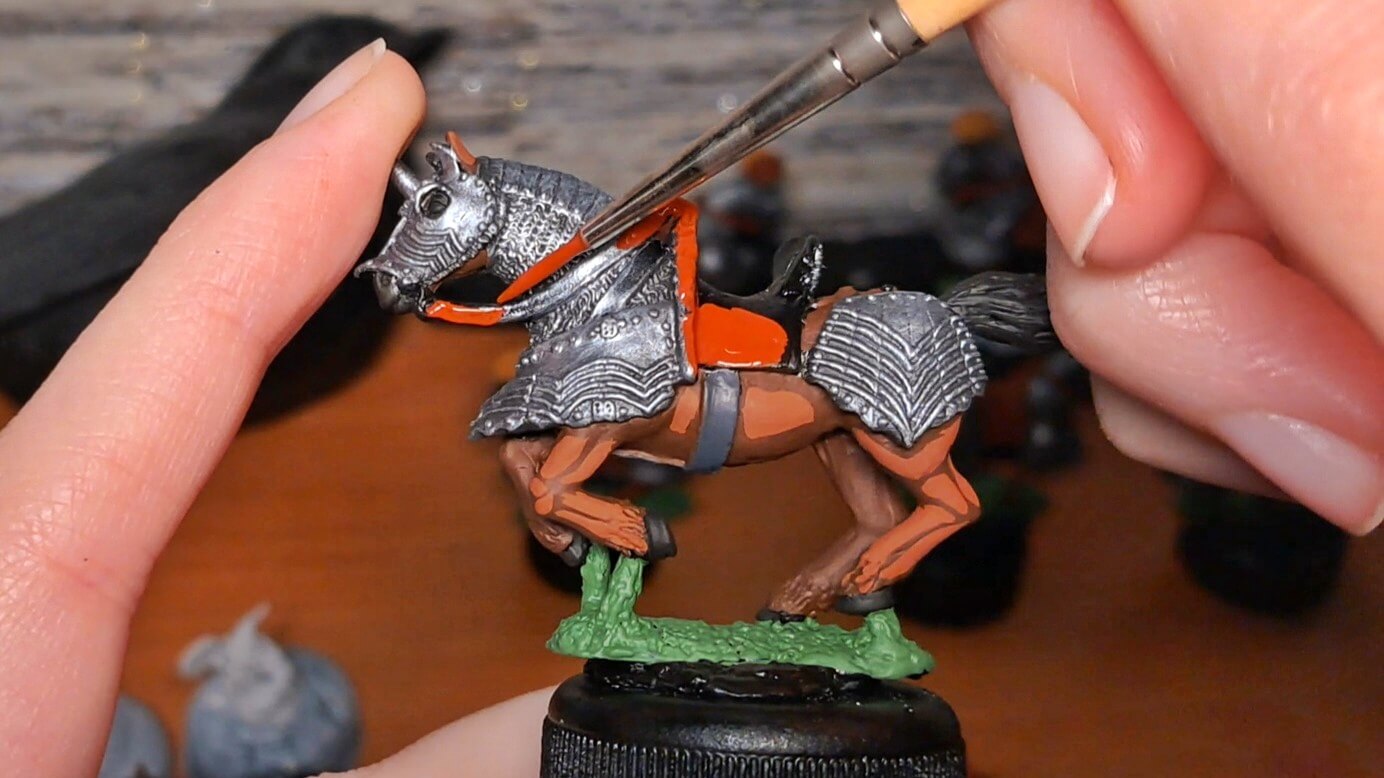
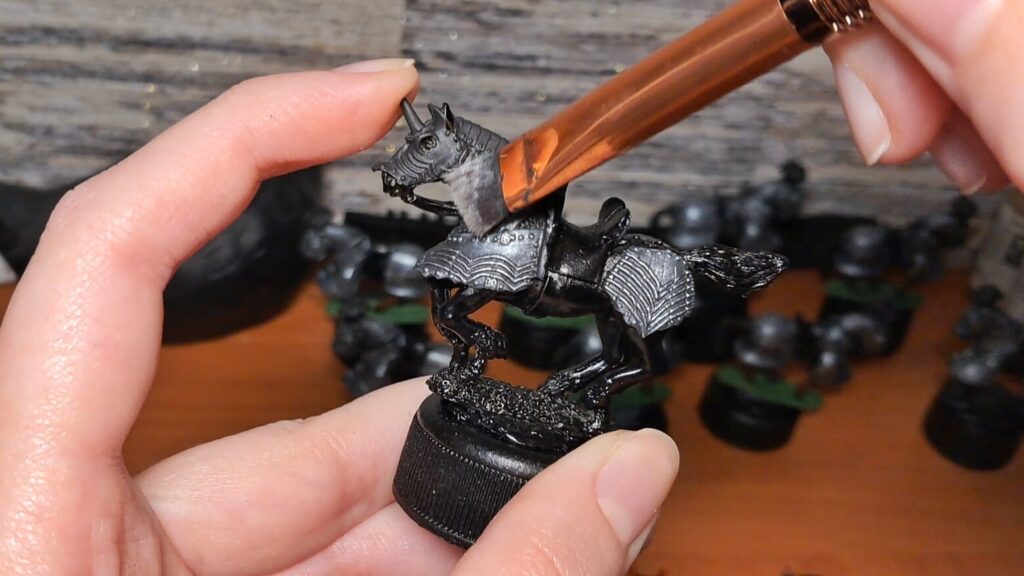
Basecoating
Basecoating is simply applying the main colors to the miniature, but how you do it has a direct impact on the final result.
Paint should be slightly thinned so it flows smoothly from the brush. If it comes straight from the pot, it is usually too thick. Thick paint will quickly fill in fine details — especially on smaller scales such as 15mm or 28mm miniatures — and once that happens, it is difficult to correct.
To prevent paint from drying out during longer sessions, a simple wet palette can be used. A shallow plastic container, a damp paper towel or sponge, and a sheet of baking parchment are enough to keep paint workable for extended periods. This helps maintain a consistent paint consistency across multiple models.
It is better to apply two thin coats than one heavy one. The first layer may look uneven or slightly transparent. This is normal. The second pass will even it out and give a clean, opaque base to work from.
Using an appropriate brush size also improves coverage. Brushes that are too small tend to leave streaks and slow the process unnecessarily.
- Where it works: all surfaces
- Common mistake: using thick paint
- What happens: loss of detail and uneven finish
Wash (Shading)
A wash is one of the fastest ways to add depth and definition. It flows into recesses and creates natural shadows with minimal effort.
Apply it over a fully dry basecoat and allow it to settle into folds, panel lines, and small details. This step alone can significantly improve how defined a miniature looks at tabletop distance.
Control is important. Excess wash will pool in unwanted areas and leave stains or glossy patches. If needed, excess can be removed with a clean brush while still wet.
On lighter colors, washes can tint the surface quite strongly. This can be useful, but if overused, it will reduce contrast and make the miniature appear dull rather than shaded.
- Where it works: folds, recesses, textured details
- Common mistake: applying too much
- What happens: blotchy, stained finish
Drybrushing
Drybrushing is a fast way to pick out raised details, particularly on textured surfaces such as cloth, fur, chainmail, or terrain.
Load the brush with paint, then remove most of it on a paper towel. In practice, very little paint should remain on the brush before it touches the model. When lightly dragged across the surface, the remaining paint will catch on raised edges.
If too much paint is left on the brush, the result becomes rough and dusty, especially on smoother surfaces. This is one of the most common issues with this technique.
Drybrushing is most effective on textured areas. On smooth armor or flat panels, it tends to produce uncontrolled results and is better avoided.
- Where it works: textured surfaces
- Where to avoid: smooth armor, flat areas
- Common mistake: too much paint on the brush
- What happens: dusty, uneven highlights
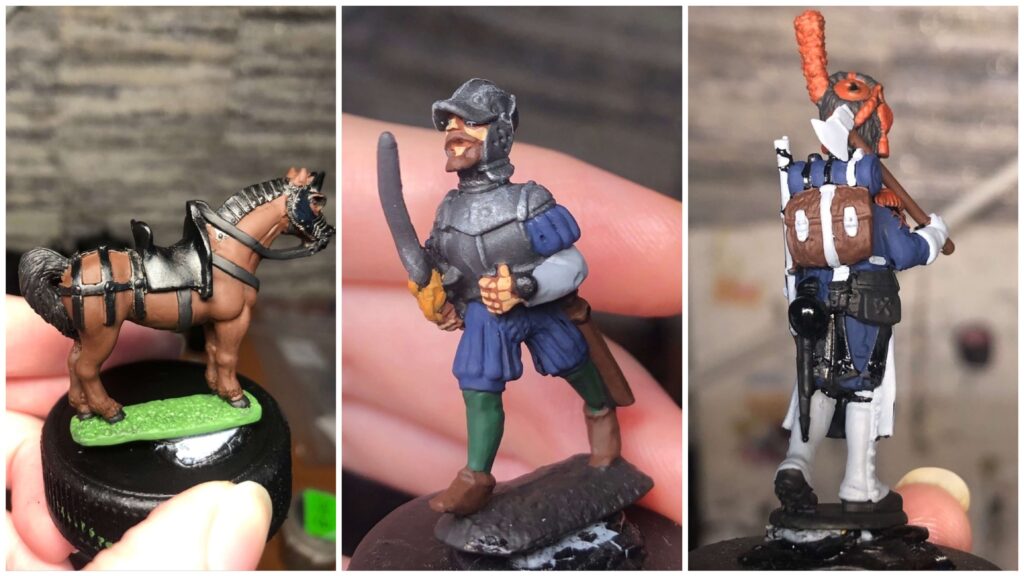
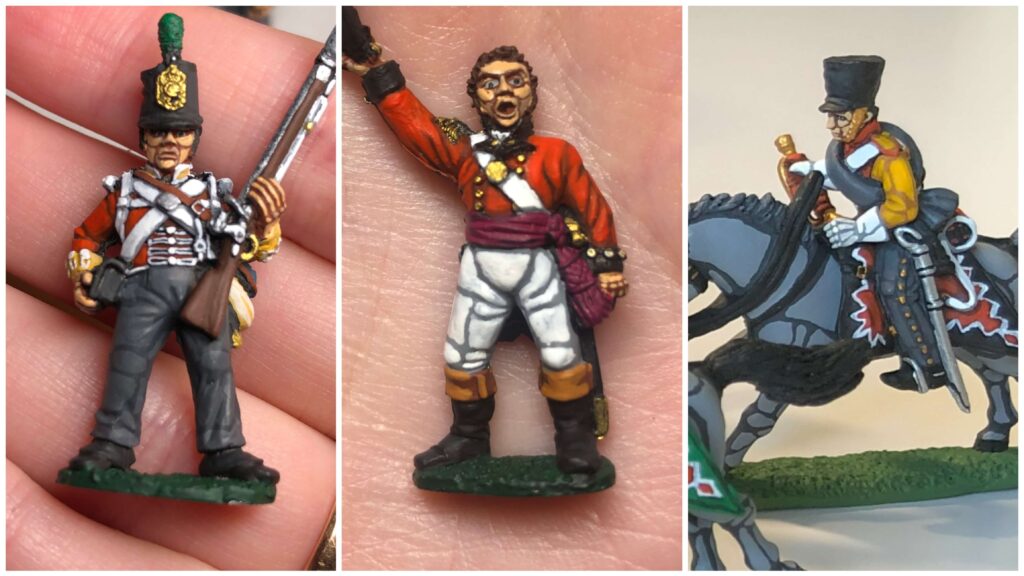
Layering and Basic Highlights
Layering is used to restore light to the model after shading. Even a simple highlight can noticeably improve the final result.
Starting from the base color, a slightly lighter tone is applied to raised areas and surfaces that would naturally catch light. For tabletop-quality results, one or two highlight steps are usually sufficient.
Paint should be thinned and applied with control. Smooth transitions are less important than clear contrast at normal viewing distance.
Focusing on the most visible areas — such as upper surfaces and prominent details — is usually enough to achieve a convincing result without unnecessary work.
- Where it works: most surfaces
- Common mistake: overcomplicating the process
- What happens: increased time with limited visual improvement
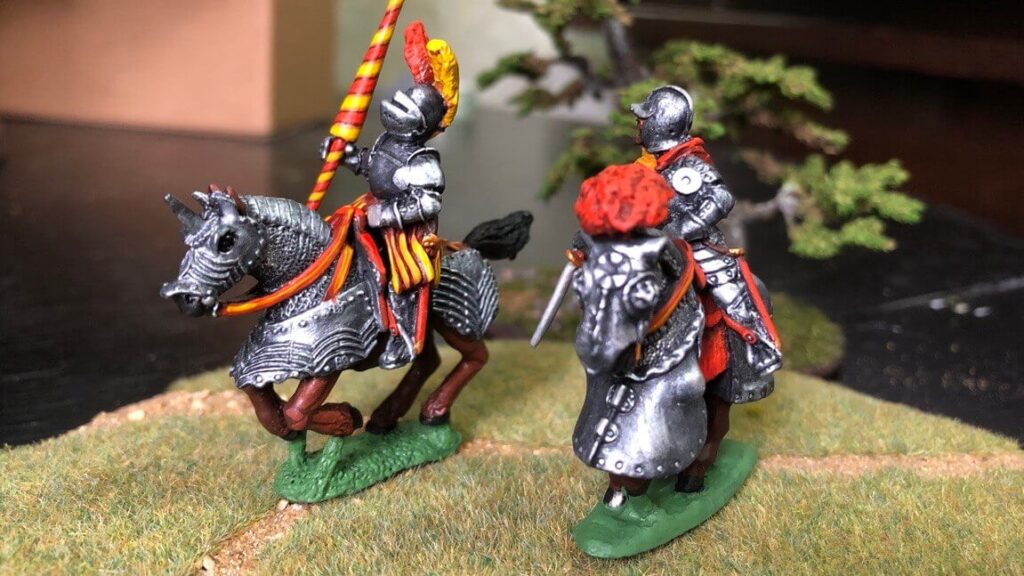
A Note on “Lining” and Readability
In many historical painting styles, especially for wargaming, small areas of darker paint are intentionally left visible between elements.
This creates natural separation between details such as straps, equipment, and folds of clothing. Without this separation, different parts of the miniature can visually blend together, especially at tabletop distance.
This effect is often referred to as “lining”. In most cases, it is not applied as a separate step, but achieved through careful brush control — by avoiding full coverage when layering or by allowing shaded recesses to remain visible.
Edge Highlighting (Optional)
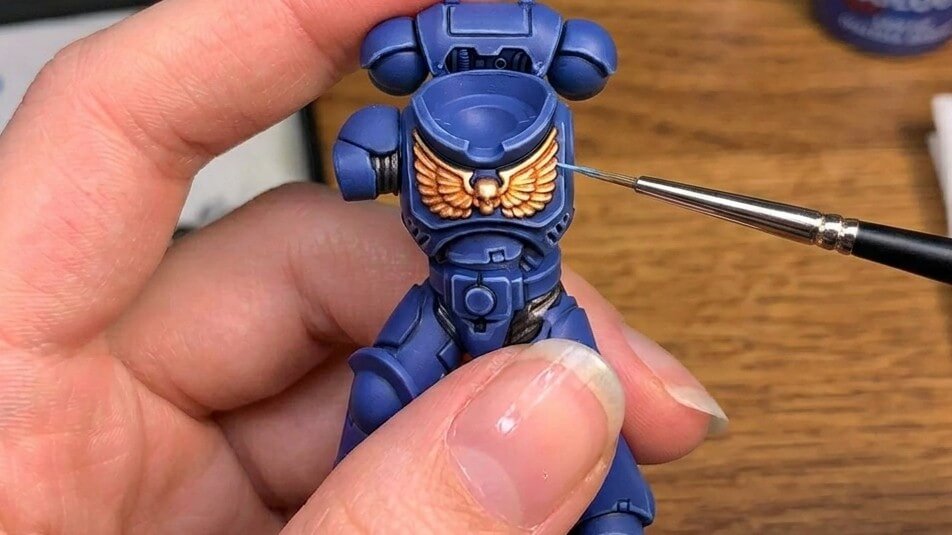
Edge highlighting is used to define shapes by applying a fine line of lighter color along sharp edges.
It is most useful on armor, weapons, and other hard surfaces. On historical miniatures, it is typically applied more subtly than in stylized settings.
Using the side of the brush rather than the tip can improve control and produce cleaner lines.
If applied too strongly, edge highlights can appear exaggerated and reduce realism.
- Where it works: edges of armor and weapons
- Common mistake: lines that are too bright or too thick
- What happens: exaggerated, unnatural appearance
How These Techniques Work Together
These miniature painting techniques are most effective when combined in a simple and consistent workflow.
A practical sequence looks like this:
- Basecoat all main colors
- Apply wash to create shadows
- Use drybrushing on textured areas where appropriate
- Add basic highlights to restore contrast
Not every step is required for every surface. Smooth armor, for example, often benefits more from layering than drybrushing.
The goal is not to apply every technique everywhere, but to use the right method where it has the most impact. Keeping the process straightforward also makes it easier to maintain consistency across multiple miniatures.
Once the painting is complete, basing helps tie the miniature together and create a more cohesive appearance on the tabletop. We cover this process in more detail in our guide to miniature basing.
Common Mistakes
Several issues appear regularly, especially when starting out:
- Paint too thick
Fine details become soft or obscured. This is difficult to correct once it happens. - Excessive wash
Pooling creates stains and uneven shading. - Overuse of drybrushing
Leads to a rough, dusty finish on inappropriate surfaces. - Low contrast
Miniatures may appear flat if highlights are too subtle. At tabletop distance, slightly stronger contrast tends to work better.
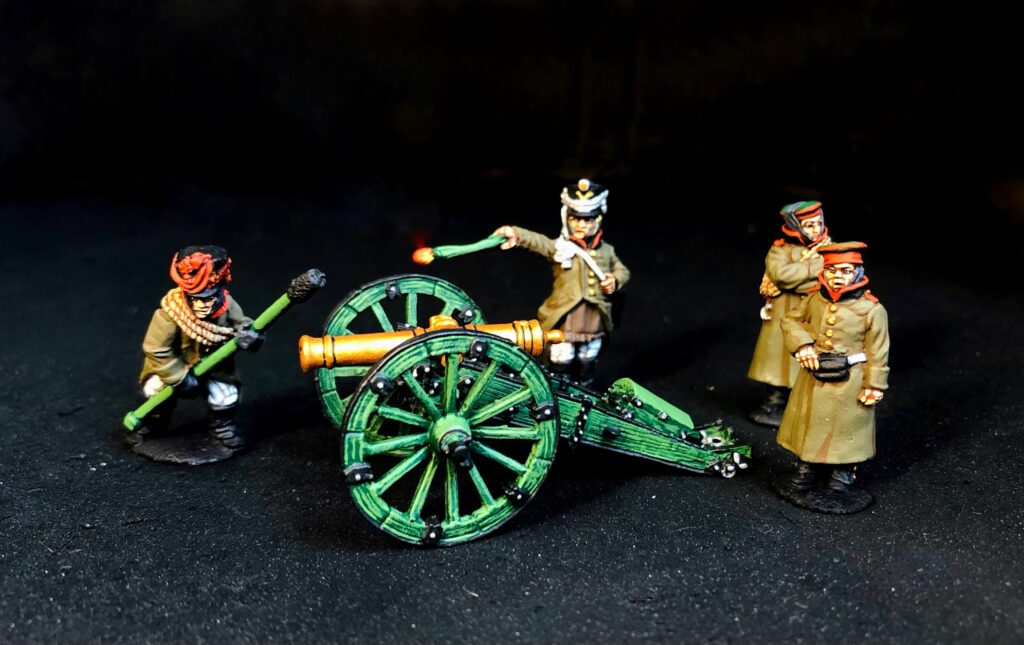
Final Thoughts
These techniques form the core of most consistent miniature paint jobs. They are reliable, efficient, and suitable for painting both individual figures and entire units.
Good results come from control and consistency rather than complexity. Clean basecoats, controlled shading, and simple highlights are sufficient for the majority of projects.
More advanced methods can be added over time, but they are not required to achieve a clean and effective finish.