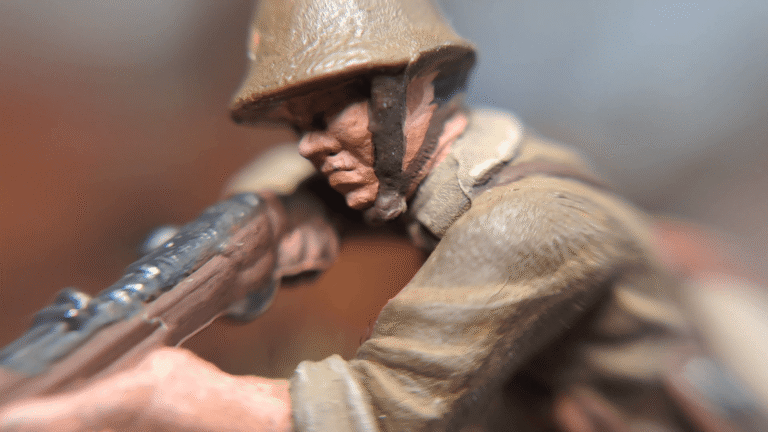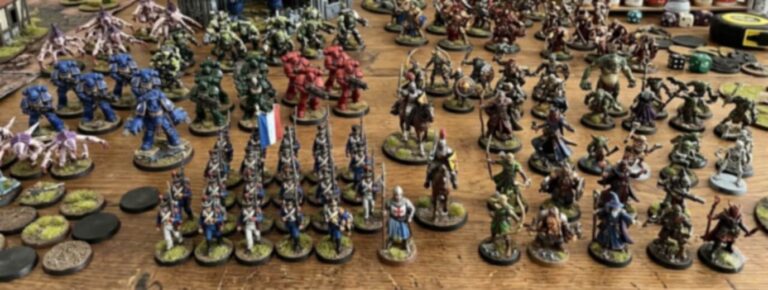

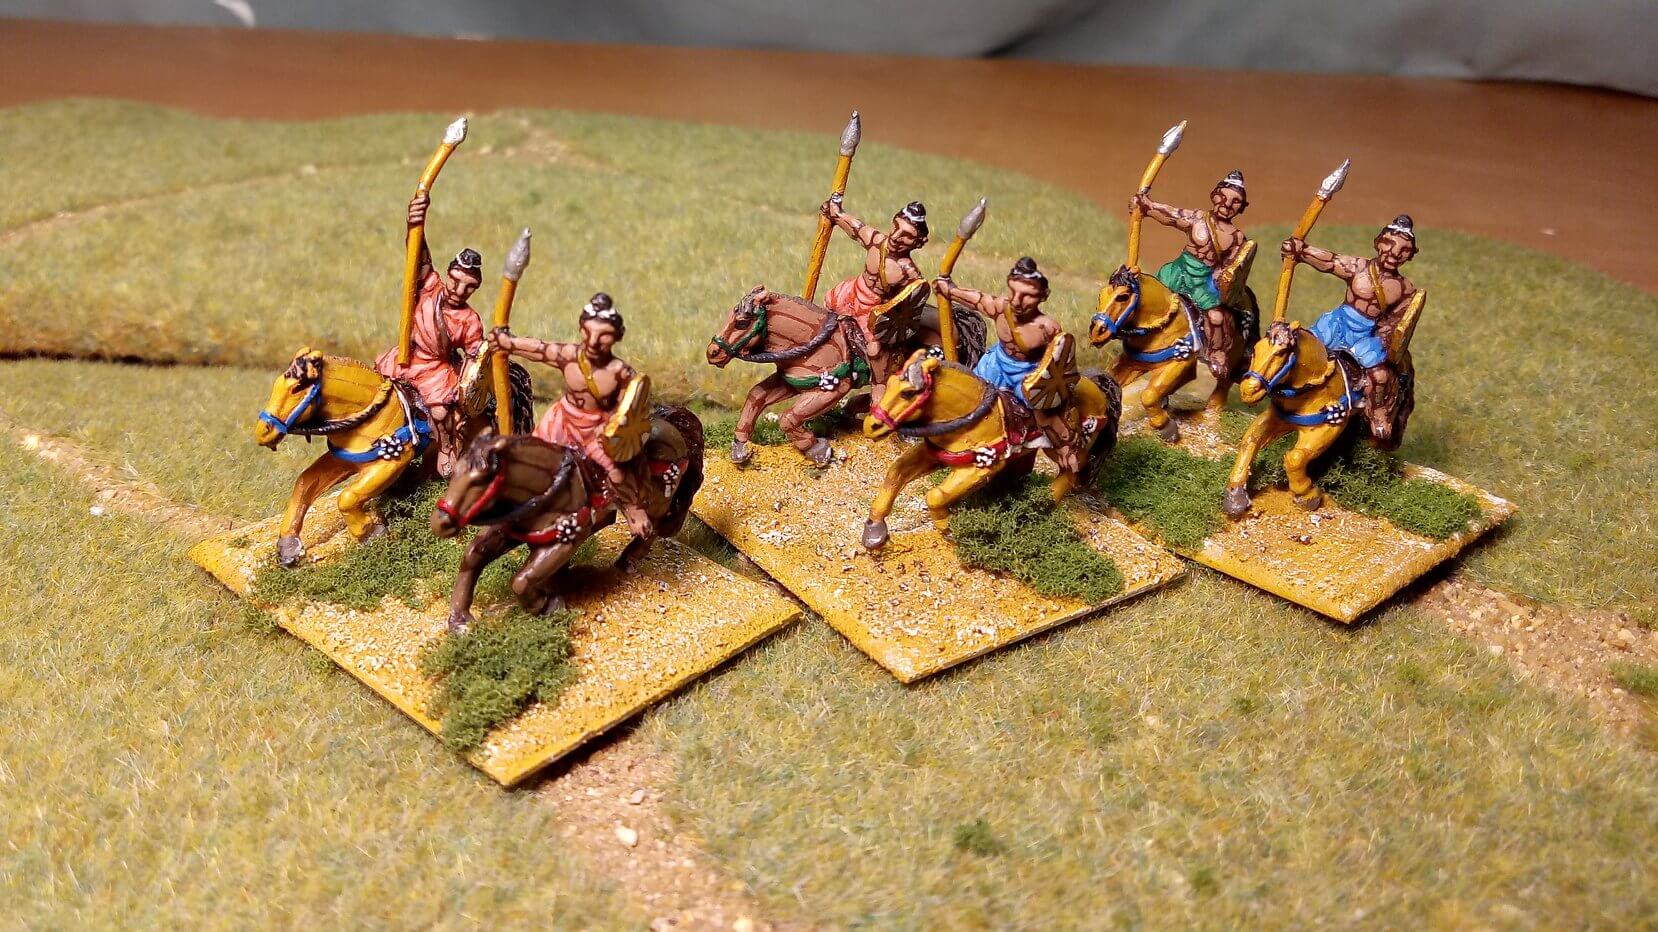
A well-painted miniature can still look unfinished if the base is left plain. Basing adds the final layer of context to a model, helping it feel like part of a battlefield, terrain, or display rather than a figure simply standing on a plastic base.
Conversely, even a simple base can dramatically improve the overall appearance of a model by adding context, contrast, and visual interest. For wargaming miniatures, basing is not just decoration. It helps tie entire units together, improves tabletop readability, and gives models a more realistic appearance.
The good news is that effective basing does not require complicated materials or advanced modelling skills. Simple textures, controlled colors, and a few carefully placed details are often enough to create a convincing result.
For tabletop miniatures, consistency is usually more important than complexity. A simple basing scheme applied across an entire unit will often look better than individually detailed bases that do not work together.
In this guide, we cover simple and practical basing methods suitable for both beginners and experienced hobbyists.
Table of Contents
Why Basing Matters
Visual Framing
A miniature rarely exists in isolation. The base provides a visual foundation that helps place the model within an environment.
Whether representing a grassy field, muddy road, or snowy battlefield, the base helps create the impression that the miniature belongs somewhere rather than simply standing on a piece of plastic or metal.
A plain plastic base can make even a well-painted miniature feel incomplete. Adding texture and a few environmental details helps connect the model to the tabletop and makes the finished piece more visually coherent.
Army Cohesion
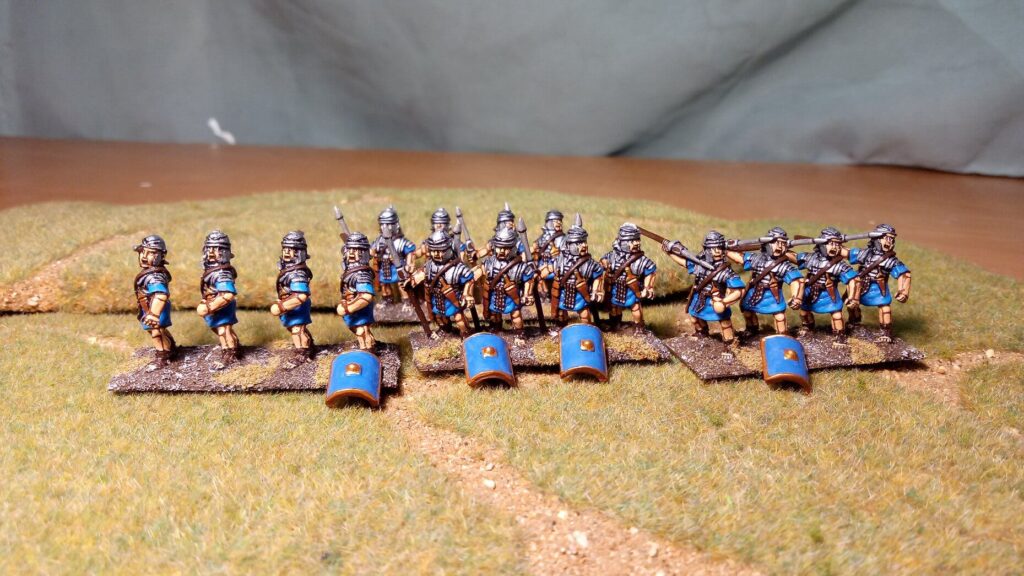
Consistent basing is one of the easiest ways to unify an army.
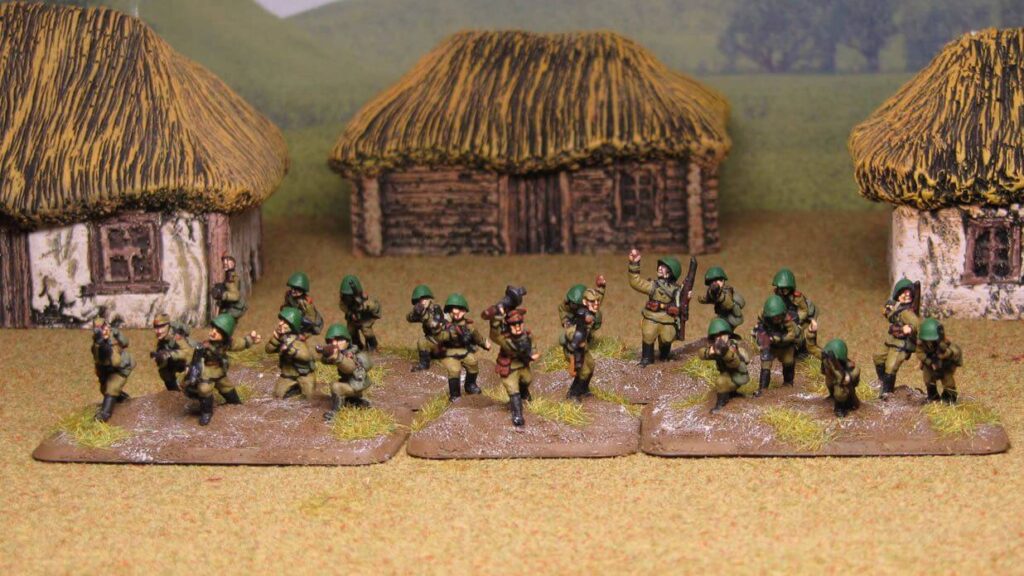
Even miniatures painted months or years apart will appear as part of the same force when they share similar textures, colors, and vegetation. This consistency often has a greater impact on the overall appearance of an army than adding extra details to individual figures.
Story and Context
The same miniature can convey a completely different atmosphere depending on the basing style.
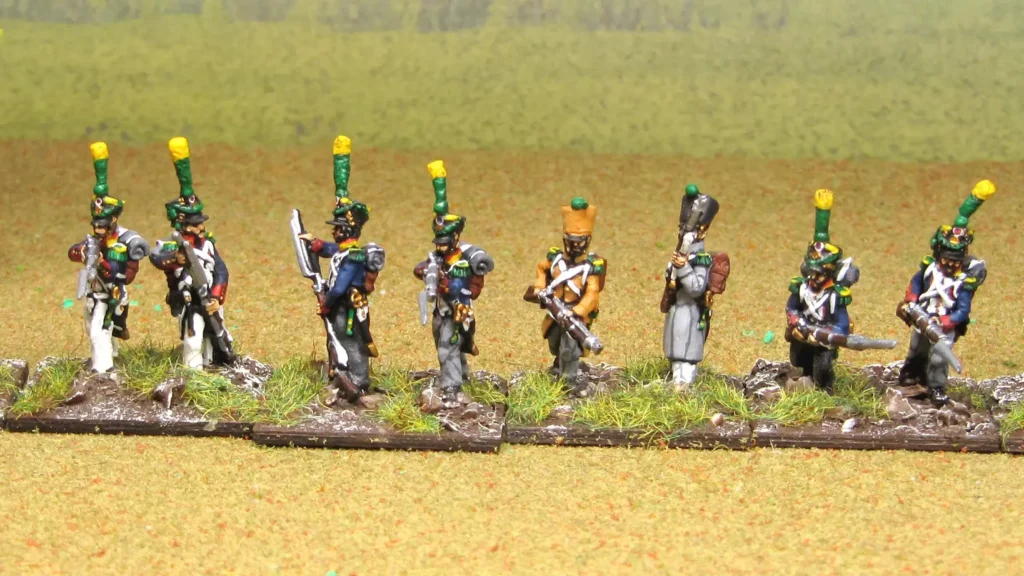
A Napoleonic infantryman standing on a green summer field creates a very different impression than the same figure standing in mud or snow. Simple basing choices help reinforce the setting and character of an army.
Readability
Basing can also improve readability. A dark miniature may benefit from a lighter ground color, while brighter uniforms can stand out better against darker earth or stone.
For units, consistent basing is especially important. When dozens of miniatures are placed together, matching bases help them appear as a single force rather than a collection of unrelated models.
Choosing a Basing Style
When starting out, it is usually best to choose a single basing theme and apply it consistently across the entire force.
Common approaches include:
- Earth and Battlefield Ground:
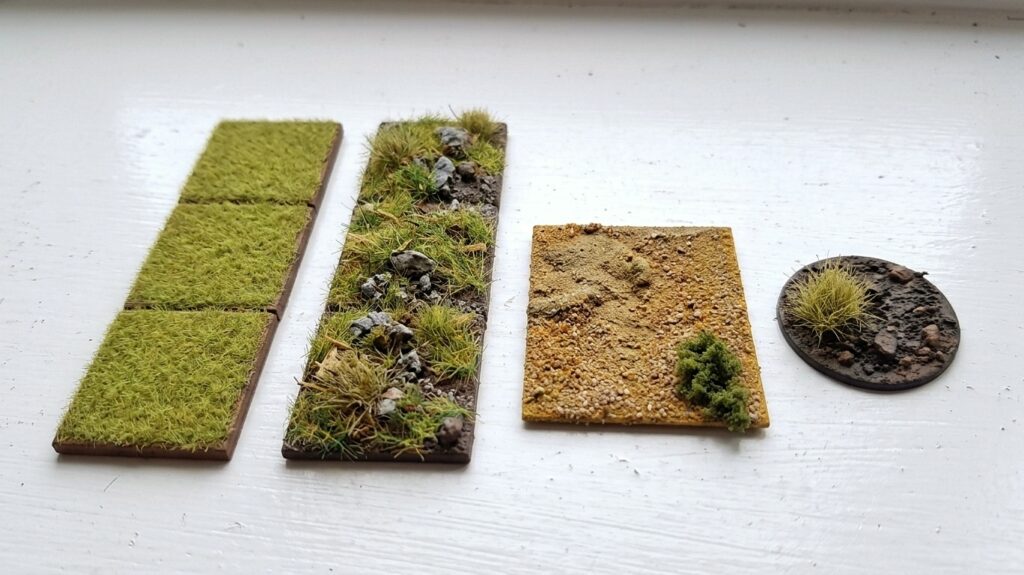
One of the most versatile options for historical miniatures. Sand, soil, small stones, and patches of grass can represent a wide range of battlefields. - Grassland:
Grassland bases are among the most versatile and forgiving options. A combination of earth tones, static grass, and occasional tufts works well for many historical periods and geographical settings. - Mud and Dirt:
Mud-based schemes work particularly well for campaign settings, World War II miniatures, and armies operating in harsh conditions. Darker earth tones combined with subtle drybrushing can create convincing results without requiring many materials. - Snow:
Snow bases provide strong visual contrast and can make an army stand out immediately on the tabletop. However, snow tends to draw attention and works best when applied consistently across an entire collection rather than mixed with other basing styles. - Urban and Rubble Bases:
Small stones, broken masonry, and concrete textures can suggest streets, ruins, or damaged buildings.
The exact style does not need to reproduce a specific location perfectly. What matters most is that the base supports the miniature and works consistently across the collection.
Basic Materials for Miniature Basing
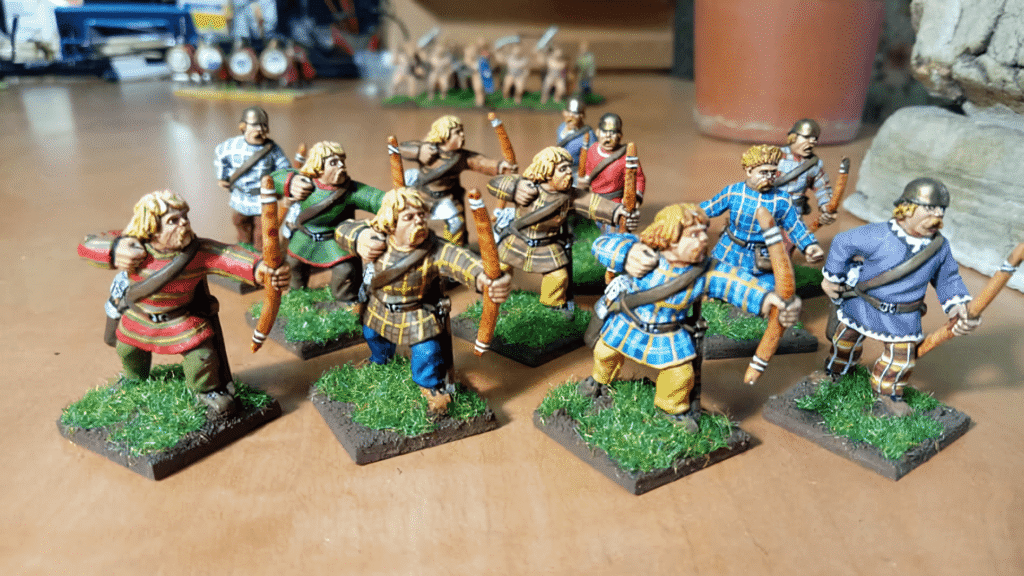
Many effective bases can be created using a surprisingly small number of materials.
Sand
- Ordinary fine sand remains one of the most useful basing materials available.
- When glued to a base and painted appropriately, it creates realistic ground texture at very little cost.
Static Grass
- Static grass is one of the simplest ways to add realism and color variation.
- Used in moderation, it helps break up large areas of earth texture and creates a more natural appearance.
Tufts
- Ready-made grass tufts provide quick visual interest and require very little effort to apply.
- A few carefully placed tufts often look more convincing than covering an entire base with vegetation.
Small Stones
- Small stones or fine gravel can represent rocks, rubble, or uneven ground.
- As with most basing materials, moderation usually produces the most realistic results.
Texture Paste and PVA Glue
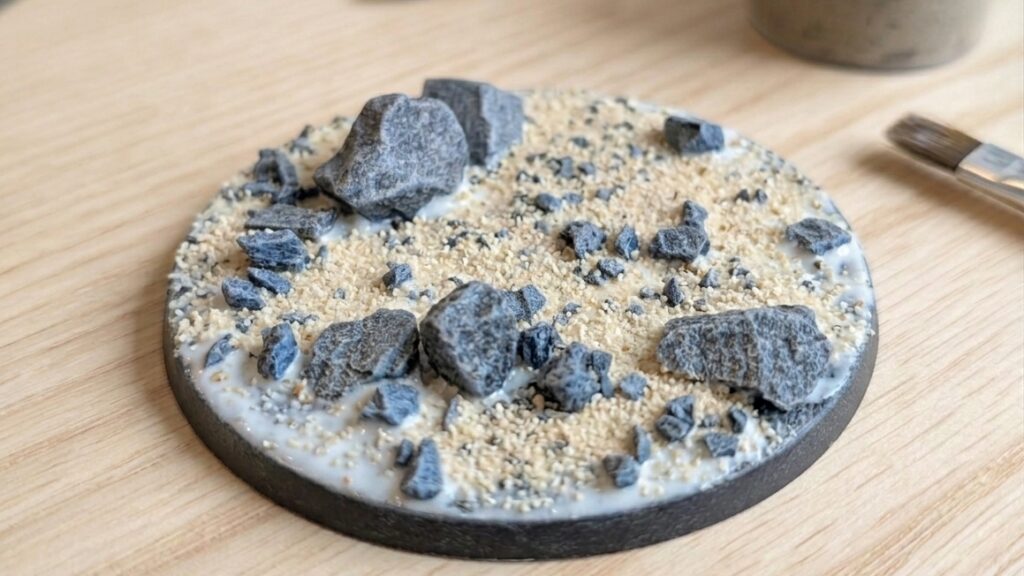
Fine sand, small stones, texture paste, and PVA glue can all be used to create convincing ground textures. There is no need to cover the entire surface with texture. Leaving some areas relatively smooth creates useful variation and prevents the base from looking overly busy.
Preparing the Base
The simplest bases often begin with inexpensive materials.
For a basic earth base:
- Apply a thin layer of PVA glue to the base.
- Sprinkle fine sand over the glue.
- Add a few larger stones where appropriate.
- Allow everything to dry completely.
- Remove loose material before painting.
The texture should be firmly attached before proceeding. Loose sand can otherwise come away during painting or handling.
A mixture of different particle sizes usually looks more natural than using one completely uniform material.
A Simple Basing Workflow
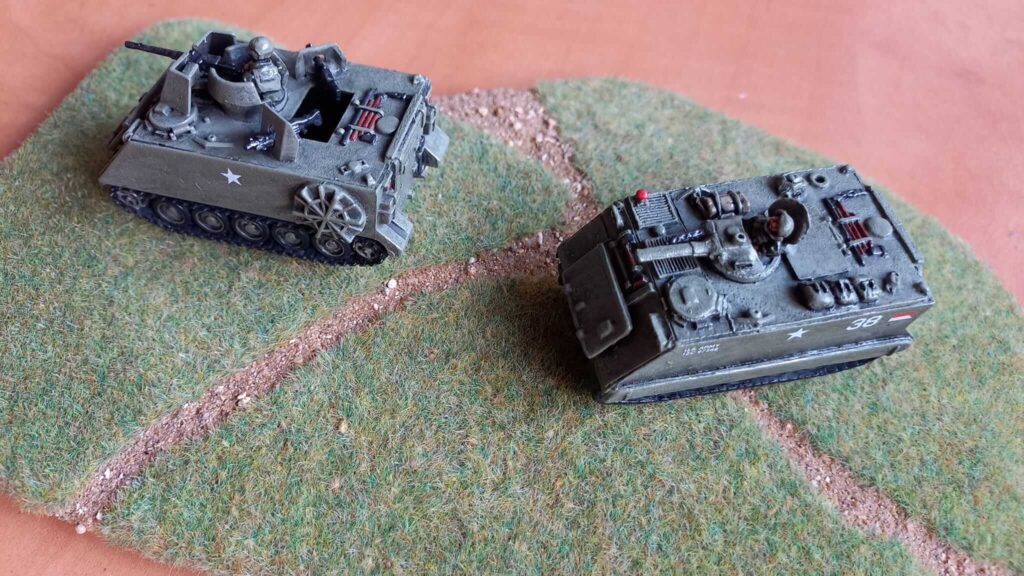
An effective base can often be completed in just a few straightforward steps.
1. Apply Texture
Begin by applying a thin layer of PVA glue to the base.
Dip the base into fine sand or sprinkle texture material over the surface. Allow it to dry completely before moving on to the next stage.
The goal is not to create a perfectly even surface. Small variations in texture often make the final result more convincing.
2. Prime and Paint
Once the texture has dried, prime the base along with the miniature.
Apply a dark earth-colored basecoat to the textured areas. Brown, dark brown, or similar natural tones work well for most projects.
A common sequence for textured earth is:
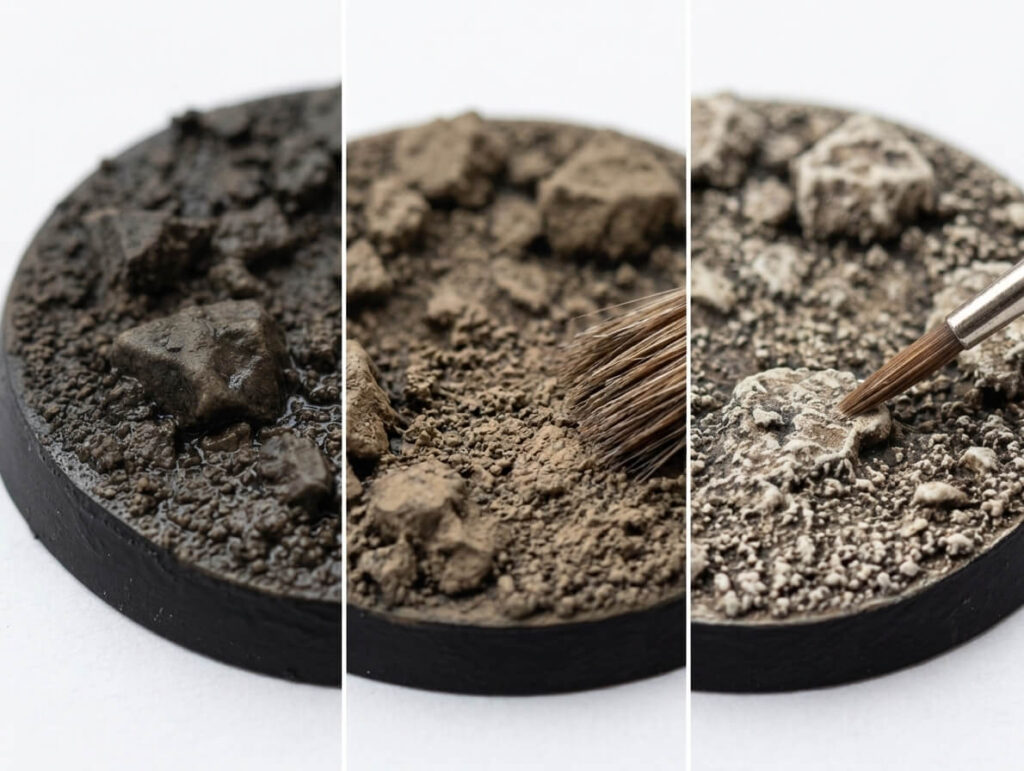
Basecoat → Wash → Drybrush
A darker wash can be used to settle into the recesses and create additional depth. Proper preparation remains important during this stage. If you have not already done so, our guide to preparing miniatures for painting covers priming and preparation in greater detail.
3. Drybrush the Texture
After the basecoat has dried, use drybrushing to bring out the texture.
A lighter brown, tan, or beige color applied lightly across the raised areas will immediately add depth and definition.
Many of the techniques used during basing — particularly drybrushing and controlled shading — are covered in more detail in our guide to core miniature painting techniques.
4. Add Grass or Tufts
Once the painted groundwork is complete, add static grass or tufts sparingly.
A few patches placed unevenly usually look more natural than attempting to cover the entire base. Leaving some areas of exposed earth helps create visual contrast.
5. Paint the Rim
The edge of the base is often overlooked, but it plays an important role in the final presentation.
A cleanly painted rim gives the miniature a finished appearance and helps create consistency across an entire army.
Many hobbyists prefer black or dark brown, though any consistent color can work effectively.
Adding Grass and Vegetation
Vegetation can make an otherwise simple earth base look much more natural.
Static grass, tufts, and small plants are among the easiest materials to use. They can be applied individually or combined to create more varied terrain.
Avoid distributing vegetation evenly across the entire base. Real ground is rarely covered in perfectly uniform patches of grass.
Instead, leave some areas exposed and place vegetation in small groups. A few taller tufts mixed with shorter grass can create more variation without adding much work.
A useful approach is to think about where vegetation would naturally grow. It often appears around stones, along edges, or in small clusters rather than being perfectly spaced across the ground.
Stones, Mud, and Small Details
Small details can add character to a base, but they should be used carefully.
Small rocks are one of the easiest additions. They can be attached before painting and then treated as part of the ground texture.
For a muddy appearance, darker brown tones can be applied selectively rather than covering the entire base. Slight variations in color help create the impression of uneven, damp ground.
Other simple additions include:
- Small pieces of bark or twigs
- Fallen leaves
- Small pieces of rubble
- Larger stones
- Broken branches
- Sparse vegetation
These details work best when they support the environment rather than becoming the main focus.
A common mistake is adding too many different elements to a single base. If the viewer notices the base before the miniature, it is probably doing too much.
Matching the Base to the Miniature
The basing style should complement the miniature rather than compete with it.
Historical miniatures do not necessarily require highly specific terrain for every individual figure. A Napoleonic infantryman, for example, can use a simple earth-and-grass base without needing a miniature recreation of a particular battlefield.
What matters more is the overall combination of texture, color, and vegetation.
The season and environment can also influence the result. Dry earth and sparse grass suggest a different setting from dark soil with dense vegetation. Similarly, urban rubble can immediately change the character of a base without requiring elaborate construction.
For larger collections, consistency becomes even more important. Using the same basic color palette and materials across a unit helps create a unified appearance.
Drybrushing the Base
Drybrushing deserves special attention because it is one of the most effective techniques for finishing textured bases.
Unlike smooth armor or flat panels, sand, stones, and rough ground naturally catch small amounts of paint on their raised surfaces. This makes drybrushing ideal for emphasizing texture.
Start with a darker base color and gradually work toward lighter tones. The first drybrush can cover a relatively large area, while later, lighter passes can be focused on the most prominent textures.
The final highlight does not need to cover everything. Leaving darker areas in the recesses creates depth and prevents the base from becoming too bright.
As with miniature painting in general, the goal is not to make every detail equally visible. A controlled range of light and dark is usually enough.
Common Basing Mistakes
Several problems appear regularly when creating miniature bases.
Using Too Many Materials
- It is easy to become enthusiastic and add sand, rocks, grass, flowers, tufts, logs, and other scenic elements to a single base.
- In practice, this often creates a cluttered appearance that distracts from the miniature itself.
Oversized Vegetation
- Large tufts or oversized scenic elements can overwhelm smaller miniatures, particularly in scales such as 10mm or 15mm.
- Always consider how the basing materials compare to the scale of the figure.
Leaving Sand Unpainted
- Natural sand rarely looks convincing when left in its original color.
- Painting and drybrushing the texture creates a far more realistic appearance and allows the base to match the rest of the army.
Inconsistent Basing
- Different basing styles within the same force can make an army appear disjointed.
- Even simple bases tend to look impressive when they are applied consistently across every unit.
Too Much Texture
- Covering every part of the base with thick texture can make the surface look artificial and distract from the miniature.
Too Much Vegetation
- Grass and tufts should add variation rather than cover the entire base.
- Leaving some ground visible usually creates a more natural result.
Uniformly Distributed Details
- Identical stones or tufts placed at regular intervals can make a base look repetitive.
- Small variations in placement are enough to avoid this.
Colors That Are Too Bright
- Bright green grass or highly saturated ground colors can draw attention away from the miniature.
- More muted tones are generally easier to integrate into historical armies.
Mixing Too Many Styles
- A collection looks more coherent when its bases share a similar visual language.
- Mixing bright grass, urban rubble, snow, and completely different color palettes within the same unit can make the army feel disconnected.
Forgetting the Overall Composition
- The base should support the miniature, not compete with it.
- If a large rock or tuft covers an important part of the figure’s pose, move it somewhere else.
Basing for Different Scales
10mm–15mm
- At smaller scales, simplicity is usually best.
- Strong contrast, clean textures, and restrained vegetation help maintain readability without overwhelming the miniature.
- Large stones, tall grass, or oversized details can quickly overwhelm the figure.
28mm–32mm
- Larger figures provide more room for variation and additional detail.
- Small rocks, multiple vegetation types, and more elaborate groundwork become practical without overpowering the model.
- If you are unsure how scale influences overall presentation, our Wargaming Scales and Materials Guide explores the topic in greater detail.
54mm and Above
- Display-scale miniatures often allow the base to become part of the presentation itself.
- At these scales, the base can function almost like a small diorama, helping to tell a broader story around the figure.
- More elaborate terrain, vegetation, and environmental details can be used because the larger model provides enough visual space to support them.
How Basing Fits into the Painting Process
There is no single correct moment to complete a base. The best approach depends on the materials and workflow being used.
For simple textured bases, much of the groundwork can be prepared before or during painting, while vegetation and delicate finishing details are often better added toward the end.
If sand, stones, or other materials are being attached to the base, make sure they are firmly secured before continuing. Similarly, delicate vegetation is easier to keep clean when applied after the main painting stages are complete.
As with the miniature itself, good preparation makes the final process easier and more predictable. Proper cleaning and priming are covered in our guide to preparing miniatures for painting.
Final Thoughts
A good base does not need to be complicated.
A layer of texture, a few controlled colors, some drybrushing, and a small amount of vegetation can transform a plain plastic base into a convincing piece of terrain.
Consistent textures, simple vegetation, and a cleanly painted rim are often enough to transform a painted miniature into a finished model. For gaming armies in particular, consistency is usually more important than complexity.
The most important thing is consistency. When the same general basing style is used across a unit or collection, even relatively simple bases can create a strong visual effect.
As with miniature painting itself, the goal is not to add as much detail as possible. The best results usually come from choosing a few elements that work together and applying them cleanly.
A simple base that supports the miniature will almost always be more effective than an elaborate one that competes with it.
By focusing on a few reliable materials and a straightforward workflow, you can create bases that complement your miniatures and enhance the appearance of an entire collection.
Like miniature painting itself, effective basing is built on simple techniques applied consistently over time.